Hadabot is a robot kit to learn ROS2 and robotics. With Hadabot, you'll be able to build and program a physical ROS2 robot with minimal frustration and intimidation.
The Hadabot kit is currently in development. It will be solely targeting ROS2 capabilities and emphasize a web-based user interface.
As development progresses, I will post updates once or twice a week in the form of hack-along examples and explanation.
In this post, we'll be doing the following:
-
Re-summarize the rationale behind a web-based interface for the new Hadabot experience.
-
Showcase the Hadabot web-based teleop controller that works for ROS2.
-
Explain how the teleop controller works.
-
Explain how the teleop controller dovetails into the Hadabot development effort.
It should take you about 15-30 minutes to run through this example.
1. Web interface for the new Hadabot experience
I aim to create a simple, frustration free robot kit to build and program a ROS2 capable robot.
By focusing solely on a web browser for the user interface, I can ensure a more consistent user experience despite the various underlying OS and development environments used.
To simply setup, Hadabot leverages Docker containers to launch pre-baked tools and ROS2 environments. Containers run inherently in a secure sandboxed environment and can easily be shut down and restarted without polluting the host system.
2. Lauching a web-based ROS2 teleop controller
A teleoperation or teleop controller is a remote control joystick to control another physical entity such as a robot, RC car, camera, etc..
We plan to eventually use this teleop controller for a Hadabot (more on that later).
Let's a launch a web-based ROS2 teleop controller for a show and tell.
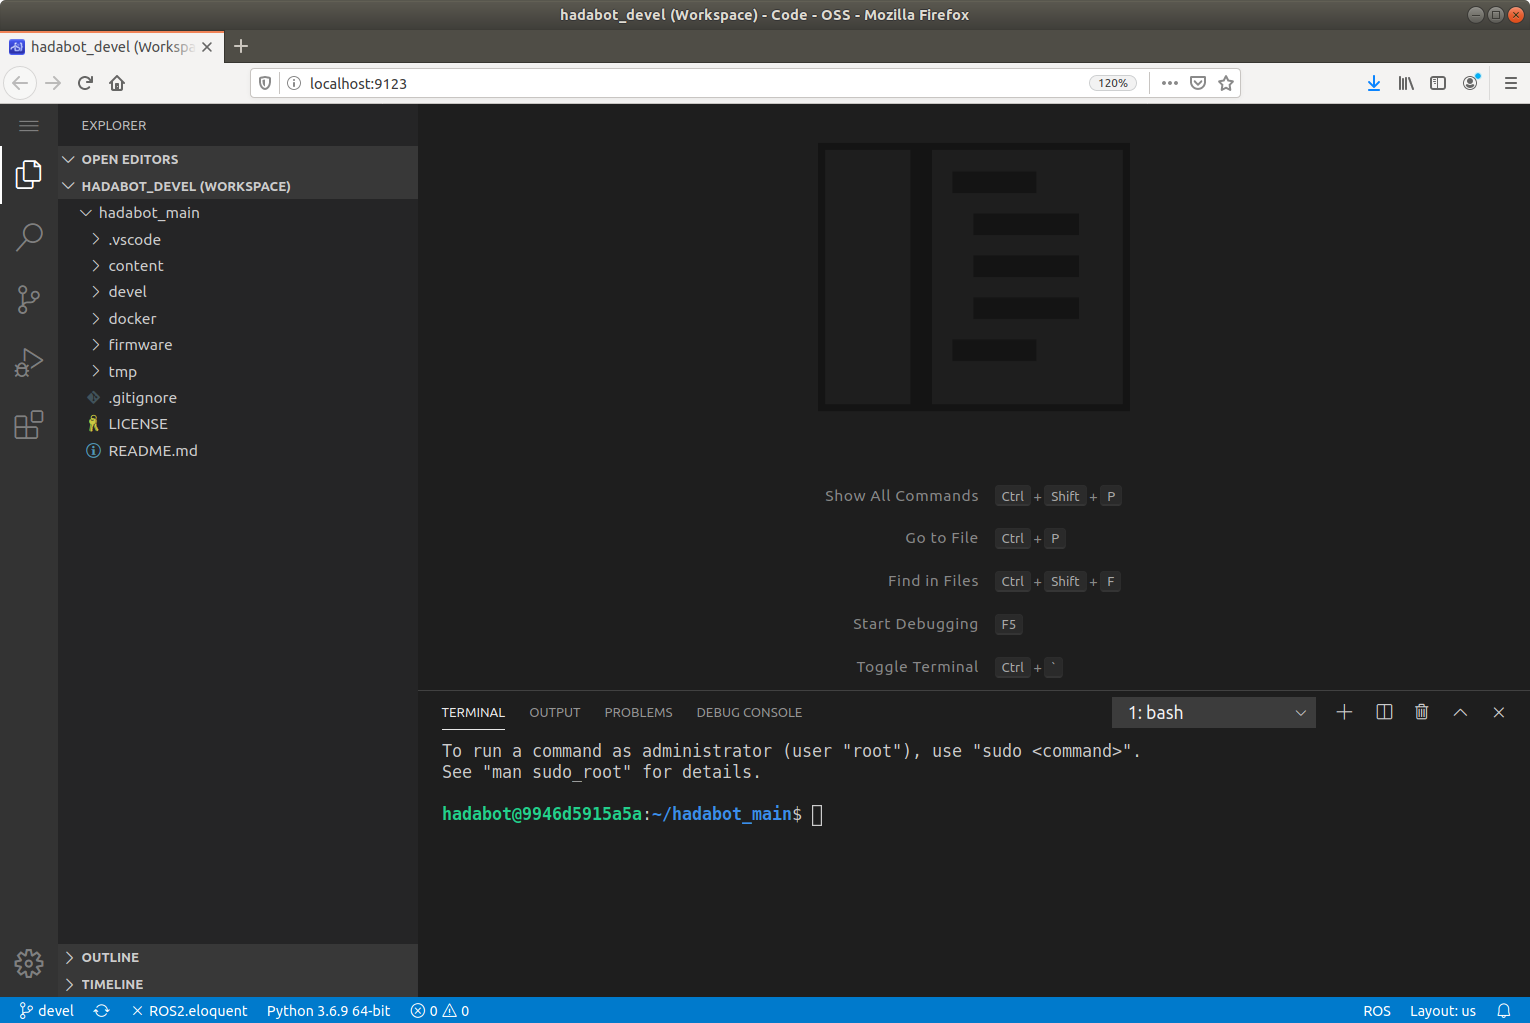
2a. Update, start / re-start the Hadabot software stack, launch a web-bash ROS2 terminal
UPDATE May 7, 2020: We no longer need to set up a web-bash since we now use the bash terminal functionality within our web-browser based VSCode environment.
New to working with Hadabot?
We will need to (a) set up Docker, (b) clone the Hadabot repository, then (c) launch a web-bash ROS2 terminal.
If you are a returning Hadabot hacker
You already have the hadabot_main.git repository cloned, and a Hadabot Docker stack running (via docker-compose).
Use the following commands on your host system to stop the Docker stack you may be running, fetch the latest Hadabot repo code, and restart the Docker stack with the latest changes.
$ cd hadabot_main/docker
$ docker-compose down -v
$ git fetch
$ git merge origin/master
$ docker-compose build
$ docker-compose up -d
Then pick up the step to (c) kick off a bash terminal in a web browser.
2b. Run our guided script to launch the teleop controller
You should have a web-bash terminal ready to go by this point.
In the web-bash terminal you created above, run our guided script and follow the simple instructions:
root@id:/# python3 content/pt2/step_1.py
Upon completing the instructions from the guided script, you should have 2 browser windows open that showcases the operation of the Hadabot teleop controller running on ROS2.
3. What is the teleop controller doing
A ROS system is composed of nodes (ie individual robot processes if you will). ROS nodes primarily communicates with each other through the passing of messages in a publisher-subscriber manner.
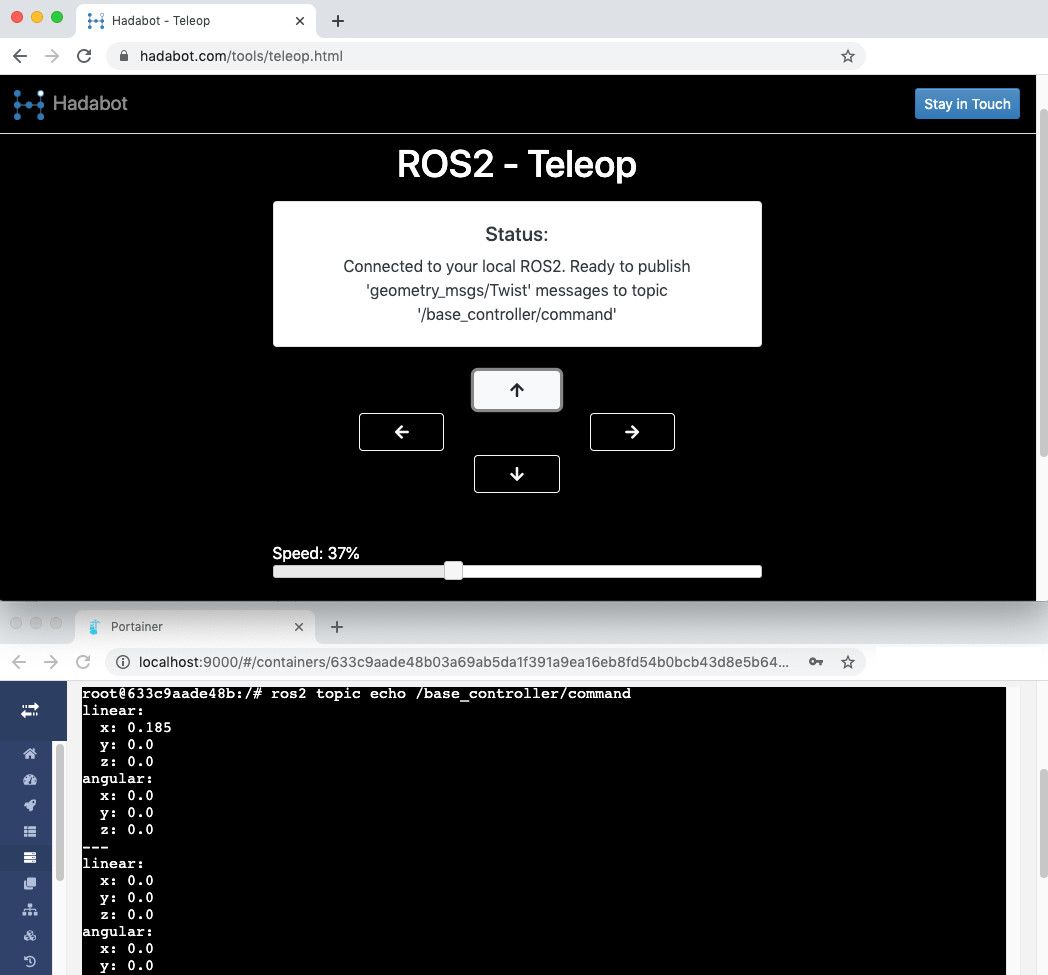
The teleop controller we launched publishes messages that can command a robot how to move. Specifically the geometry_msgs/msg/Twist message type is published. Twist instructs a 6 degree-of-freedom robot how to move in the x, y, z direction as well as how to rotate along its x, y, and z axis.
Upon clicking the respective arrow buttons, the teleop controller is hard-coded to publish a move command via a Twist message to the /base_controller/command topic.
In our web-bash terminal, we used ros2 topic echo /base_controller/command to echo and verify the published messages upon pushing the buttons on the teleop controller.
When the up/down arrow button is pressed, we want to move forward/backward in the x direction, hence we publish a positive/negative linear-X valued Twist message.
When left/right is pressed, we want to rotate around the z-axis.
When the button is released, we send the Twist message to stop all movement.
4. How does the teleop ROS2 example work
While ROS nodes run in a distributed manner, it does not natively run in a web browser environment. Instead we leverage a web-to-ROS bridge server, aka ros2-web-bridge, created and open sourced by Robot Web Tools.
This ros2-web-bridge server, which runs as a Docker container via docker-compose, allows non-ROS applications to publish ROS topics to the underlying ROS system using a JSON-based interface.
The Hadabot teleop controller is a javascript app (heavily motivated by this keyboardteleopjs project) that creates a websocket connection with the ros2-web-bridge server. The teleop controller then publishes the ROS Twist messages using that JSON-based interface over the websocket connection to the ros2-web-bridget.
When the ros2-web-bridge receives the JSON-based Twist messages (over the websockets connection with the teleop controller web app), it natively publishes them out on the ROS2 system which becomes available for the ros2 topic echo... command and any other ROS node to process.
How does the ros2-web-bridge publish the ROS messages? The ros2-web-bridge runs as a websocket server (that talks to client connections such as our teleop controller) as well as a ROS2 node.
In a web-bash ROS2 terminal, if you list the nodes (don't forget to first source /opt/ros/eloquent/setup.bash to activate ROS2):
root@id:/# ros2 node list
... you will see the /ros2_web_bridge node running.
5. How the teleop controller dovetails with Hadabot developments
The Twist message overgeneralizes to command a wheeled robot such as a car or differential drive robot which only has 2 degrees of freedom - it can only move forward and backwards and rotate left and right. A car cannot move left or right linearly nor can it fly up or down. And for all practical purposes, it cannot pitch or roll like an airplane or drone.
The new Hadabot kit in development will be a differential drive robot powered by ROS2. So as mentioned earlier, a diff-drive robot will have 2 degrees of freedom - the ability to move along the Hadabot's x-axis (ie forward and back) as well as turn left and right along its z-axis.
We plan to have examples and code to showcase autonomous planning and movement. But as a stepping stone towards autonomous behavior, we need to have a way to remote control the Hadabot manually. We will do that by using this teleop controller.
Additionally, we mentioned that the new Hadabot will be based on an ESP32 microcontroller. The ros2-web-bridge server will help us interface ROS2 to the ESP32 which controls the electrical components on the physical Hadabot platform.
6. Conclusion
To stop and clean up the running Docker containers, from hadabot_main/docker:
$ docker-compose down -v
Congrats on launching a web-based teleop controller that runs on ROS2! In this post, we covered the following:
-
Launching a web-based teleop controller that publishes ROS2 Twist messages.
-
Explained how the teleop controller works with the ROS2 system running locally as Docker containers.
-
Tied this teleop controller example to the ongoing Hadabot developments with the goal of creating a simple, frustration-free robot kit to build and learn ROS2 and robotics.
As usual, if you have suggestions, comments, or just want to say hi, don't hesitate to reach out - hello AT hadabot DOT com.
Is your curiosity further piqued? Keep updated on future Hadabot developments via the stay in touch button in the navbar above or footer below. Share Hadabot with other hackers and roboticists.
Thanks and happy building!
Jack "the Hadabot Maker"